BOOTABLE USB IMAGE · ISO
NET installation image
Write this image to a USB stick. It is not an update file to upload through the NET interface.
Download image WAVEDREAM NET / SUPPORT
From a USB stick to your first track. Follow the steps below to install the NET software and bring your system online.
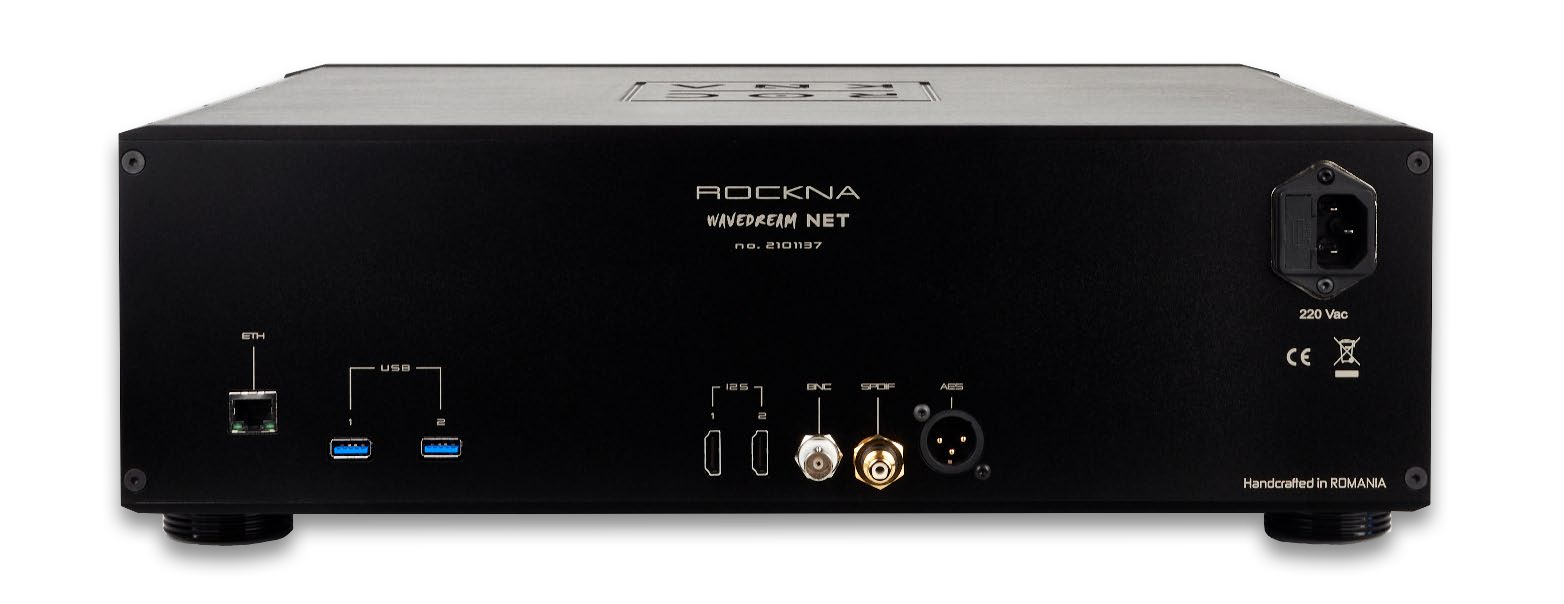
For a normal software update, open Updates in your NET interface. A USB installation is for a new system or an approved fresh reinstall.
About regular updates ↗Choose the installation image supplied for your unit. Keep the user manual nearby.
Write this image to a USB stick. It is not an update file to upload through the NET interface.
Download imageHardware connections, playback services, music storage, updates and remote support.
Download manualInstaller download requires a registered NET serial number. The user manual is freely available; no serial number is required.
A fresh installation erases the selected physical disk, including any music partition on that disk. Server approval does not preserve your files.
Save your music, Roon database backup and any settings you need to another device. Do not rely on a second partition of the installation disk as a backup.
Tick these as you prepare. This checklist is only a reminder; it does not approve or start an installation.
Disconnect unrelated external drives. If your NET has a separate internal music disk, note its model, serial number and capacity so you can distinguish it from the system disk.
Copying the ISO file onto a USB stick does not make it bootable. If your writing tool asks about partition or boot modes, follow the image-specific instructions supplied by Rockna.
Cancel the format prompt. The installer uses a layout that Windows may not display as a normal writable drive. Do not reformat the completed installer.
*If your unit does not select USB automatically, contact Rockna for its model-specific boot procedure. A browser cannot change the boot order before the installer starts.
Find the NET installer in your router’s connected-device list and open its IP address using http://. Keep your control device on the same LAN, avoid guest Wi-Fi and VPN isolation, and run only one NET installer on the network at a time.
A registered serial can be approved automatically when Rockna’s checks pass.
A previously installed serial normally needs staff approval. If an email field appears, enter your contact address. Manual approval can take up to 24 hours.
Correct any typing error. If the serial is correct, contact Rockna or your dealer. Do not use another unit’s serial.
The page updates when a decision arrives. If you power off while waiting, boot from the USB again and enter the same serial. The installer must still validate the current plan and authorization.
Approval alone does not install the system. At Ready to install, check the complete installation plan, including the chosen disk and any data that will be erased.
Fresh installation can erase music on the selected disk. Other drives are preserved only as described in the plan. If anything is unexpected, stop and correct the plan before continuing.
Note the installed-device address shown on the completion screen. It differs from the installer address.
After reboot, use the address shown by the installer, normally http://wdnet-SERIAL.local, replacing SERIAL with your unit’s serial number. If needed, find the NET’s new IP address in your router.
Choose individual music locations, such as /media/wdnet/drive1, rather than watching all of /media. Do not add overlapping parent and child folders. Roon has its own library and audio-zone settings.
Keep the NET connected to the internet while it contacts Rockna. Some services become available after authorization. If they do not appear, check connectivity and contact support.
For future updates, open Updates in the NET interface and select Check for updates. Review the available release, then choose Update now.
One action applies the compatible update sequence offered to your unit. An OS update may require a restart. Keep power and network connected until it finishes.
Roon’s own application updates are managed separately through Roon.
Contact Rockna with your serial number, the step you reached and the exact message shown. Do not include passwords.
Contact supportEnable Remote support on your NET only after communicating with the Rockna team.